This post may contain affiliate links. I will earn a small commission, at no extra cost to you, if you make a purchase through these links.
Learn how to make seashell candles with this easy tutorial. I’ve outlined the basic steps below, but be sure to watch the QUICK video for more helpful details and to see the tutorial in action!

Seashell candle supplies
- Seashells
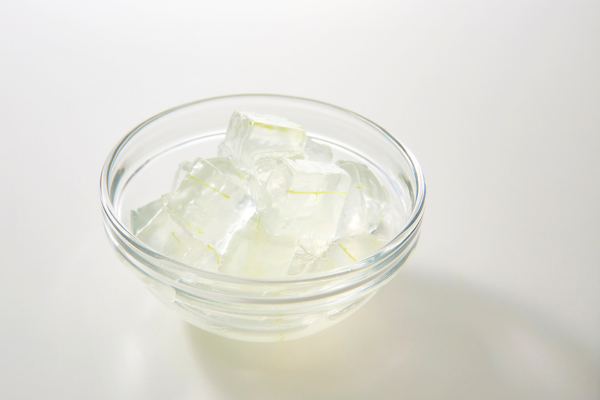
- Soy wax flakes
- Wick, wick sticker, and wick holder
- Food scale
- Metal pitcher and stirring spoon
- A pot to boil water
- Wick trimmer or scissors
You can also opt to purchase the majority of these items all together in a candle-making kit. If you’re interested in that, check out my review of this candle-making starter kit I’ve been using.
Seashell candle tutorial
- Use a wick sticker to secure a wick to the seashell bottom. Then, thread the wick through the wick holder. This part was tricky, getting the shells to balance. After I filmed the video I realized an egg carton would have been helpful to sit them in.
- Melt the wax flakes in the double boiler, using the spoon to stir it and help it melt. (The double boiler is created by boiling some water in a small pot and then putting the metal pitcher with wax in the boiling water.)
- Carefully pour the melted wax into the seashell. Then, set it aside on an even surface to harden (egg carton!).
- When the candle has fully hardened, trim the wick to about a quarter of a inch.
And that’s it! Now you can enjoy your beautiful seashell candles. I’m obsessed with how the conch shell candles turned out! I’m using the clamshell candles just as little display pieces, as they’re too small to light for any period of time. I think they’re so cute though!
Get more candle-making project ideas!